To quote a Roman philosopher named Seneca, “luck” is what happens when preparation and opportunity meet. It’s likely that the opportunity to buy the wallpaper of your dreams is just around the corner. Maybe the next week? Is it possible that you won’t be ready for real until you have the wallpaper in your hands? Even if you have the money to employ a professional wallpaper installer, you may still be responsible for ensuring that your wall is ready for wallpaper.
Installing anything begins long before the actual process of installing begins. Some of you will have already done a number of really important tasks 30 days before the actual installation. But don’t worry, we’ll go into it further in a moment. In the following paragraphs, we’ll show you how to prepare your wall for wallpapering so that you may avoid any possible issues. Choosing the best peel and stick wallpaper is essential.
Smooth
In the first stages of preparing your wall, you will want to make sure that the surface is flat. First, remove any nails or screws that may be protruding from the wall. For the sites where these objects previously existed, this will result in holes and raised regions. For example, flaws or craters in your wall may be seen through the wallpaper, and this may affect how it looks. Fill any holes or craters in your wall with spackle before smoothing out any irregularities with sandpaper.
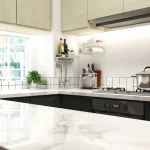
The finished product will have a homogeneous and smooth surface. For the most part, a light texture won’t be a problem, but if your walls have deep textures, you should endeavour to smooth them down. The smoothness of the wall will ensure that every square inch of the wallpaper is pushed against the wall. This will help to reduce the risk of buckling over time, and it will also remove places where moisture may hide, which can lead to mould. You can choose the yellow peel and stick wall paper here.
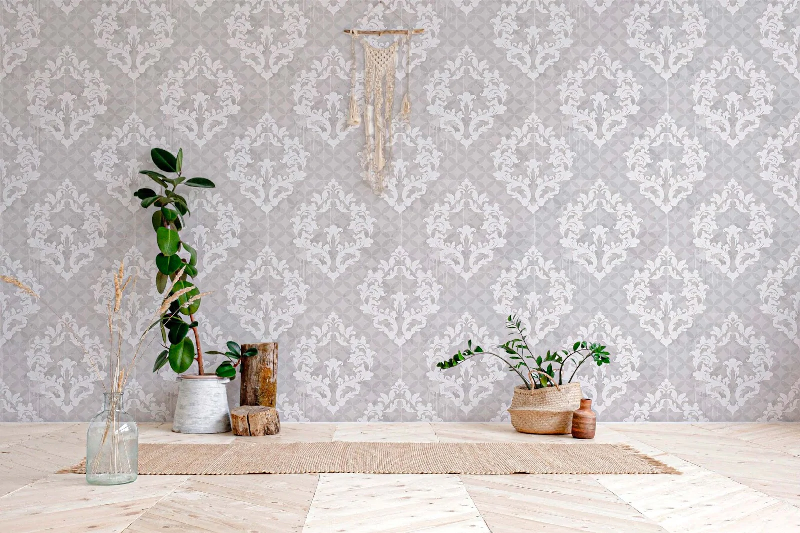
The roughness of the wall may be seen through wallpaper that has a white or very light background colour or hue. Any imperfections may be hidden by using darker colours. In this case, she’s covering a painted concrete wall with wallpaper, which isn’t the easiest surface to smooth off.
Clean
Next, you’ll need to get rid of any clutter on the wall. This step must be accomplished not only now, but also again just before the installation is scheduled to take place. The small dust particles that may be left behind after sanding your wall should not be painted over or laid on top of. On the first pass, use a vigorous cleanser like sugar soap or TSP to remove oil and other buildup (trisodium phosphate).
Paints and Primers
The use of paint might provide several challenges. Wallpaper seems to work best with paints that have an eggshell, satin, or semi-gloss finish. Removing wallpaper from a latex-painted wall might cause the paint to peel, therefore it’s best to avoid doing so. In any area of your house, you should avoid hanging wallpaper directly on the drywall.