How to Install and Maintain Vinyl Tile Flooring for Long-Lasting Beauty
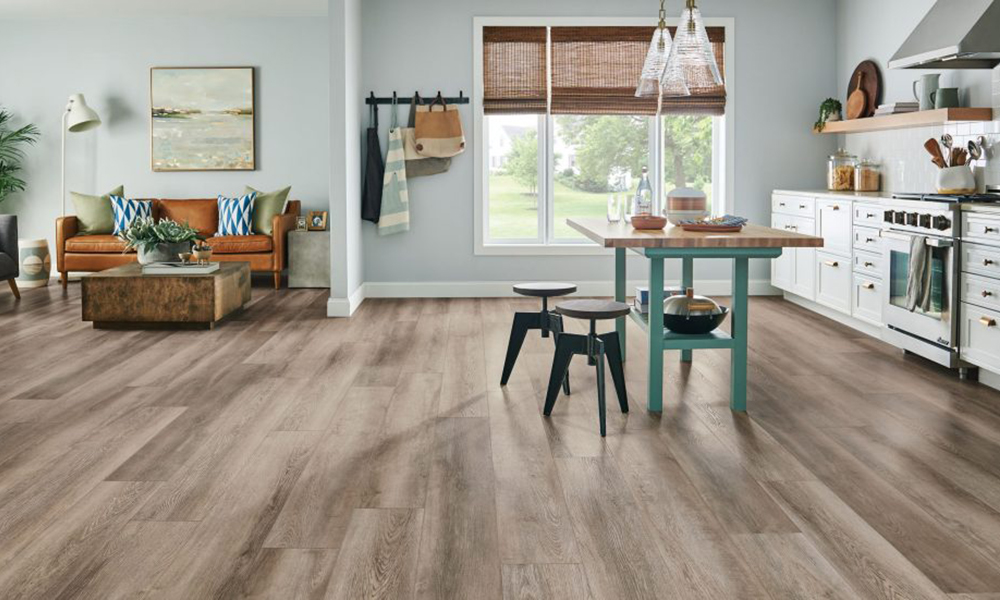
Vinyl tile flooring is favoured for its cost-effectiveness, aesthetic flexibility, and straightforward maintenance. Ensuring its longevity begins with proper installation followed by consistent upkeep. This article offers a step-by-step guide on how to correctly install flooring tiles vinyl and effective tips on maintaining its pristine condition.
Installing Vinyl Tile Flooring
Preparation is Key
Before installation, ensure the subfloor is clean, dry, level, and smooth. Remove any debris, dirt, and dust that might interfere with adhesion. If you’re installing over concrete, check and remedy any issues with moisture levels.
Measuring and Planning
Measure the room to determine how much vinyl tile you’ll need. Consider purchasing about 10% more than your actual measurements to account for cutting and potential mistakes. Plan the layout to ensure that the tiles fit aesthetically, considering the room’s shape and the tile sizes.
Choosing the Right Tools
Gather all necessary tools beforehand. Typical tools for installing vinyl tile include:
- A tape measure
- Utility knife (for cutting tiles)
- Notched trowel (if using adhesive)
- Roller (to firmly press the tiles into place)
Installation Process
- Dry Layout: Begin by laying out the tiles dry, to finalize the pattern and ascertain how they fit together in the space.
- Cutting Tiles: Use a straightedge and a utility knife to cut tiles as needed. For irregular shapes, creating a cardboard template can help.
- Applying Adhesive: If using glue-down tiles, apply a thin spread of adhesive with a notched trowel. For self-adhesive tiles, simply remove the backing paper.
- Laying Tiles: Start from the center of the room and push each tile firmly into place, ensuring there are no gaps. Use the roller to press down the tiles and secure the bond.
- Sealing and Finishing: If required, apply a sealant to provide an extra layer of protection, especially in high-moisture areas like kitchens and bathrooms.
Maintaining Your Vinyl Tile Flooring
Regular Cleaning
Regular cleaning is essential to maintain the appearance of vinyl flooring. Sweep daily to remove dirt and grit and mop using a vinyl-approved cleaner; avoid using abrasive cleaners which can dull the surface.
Immediate Spill Clean-up
Vinyl is water-resistant, but spills should still be wiped up promptly to prevent slipping and potential staining.
Avoid Heavy Loads and Sharp Objects
Protect your vinyl tile from heavy furniture with wide-load-bearing wheelbases or furniture protectors. Sharp objects, if dropped, may gouge the tile surface, so handle with care.
Use the Right Products
Only use cleaning and maintenance products specified for vinyl flooring. Some products contain harmful chemicals that could damage the flooring or dissolve the adhesives.
Final Thoughts
Vinyl tile flooring can serve your home beautifully for many years with proper installation and maintenance. It’s an economically sound choice capable of mimicking expensive floor finishes. By following these installation and maintenance guidelines, you’ll maximize the longevity and visual appeal, ensuring your flooring remains a cornerstone of your home’s aesthetics.


